

Step1. Turn the adjustable floor levelers, located on the bottom of the cabinet, all the way in (up) (Figure 1).
Step 2. Inspect the inside of the cabinet, carton and packaging to make sure you have removed all separately packed parts. Do NOT dispose of any packing material until the setup is complete. If your cabinet has shelves, they may be secured inside the cabinet with shipping clips. To remove the shipping clips, you will need a Phillips screwdriver (Figure 2). The shelves may also be packed on top, underneath, or alongside the cabinet. You may need to lay the cabinet on its backside to remove the shelves from underneath the cabinet. Use caution when removing these shelves.

Step 3. Move the cabinet to its final location. Locate any electrical cords that may be exiting the back or bottom of the cabinet. Move them out of the way as you move the cabinet to its final location. Some cabinets include a Safety Strap to prevent tipping. If a Safety Strap was included: with your cabinet, review the instructions included with the Safety Strap at this time and choose the assembly option which best fits your application. The cabinet should be attached to the wall for maximum stability. If your cabinet does not have this feature, proceed to the next step.
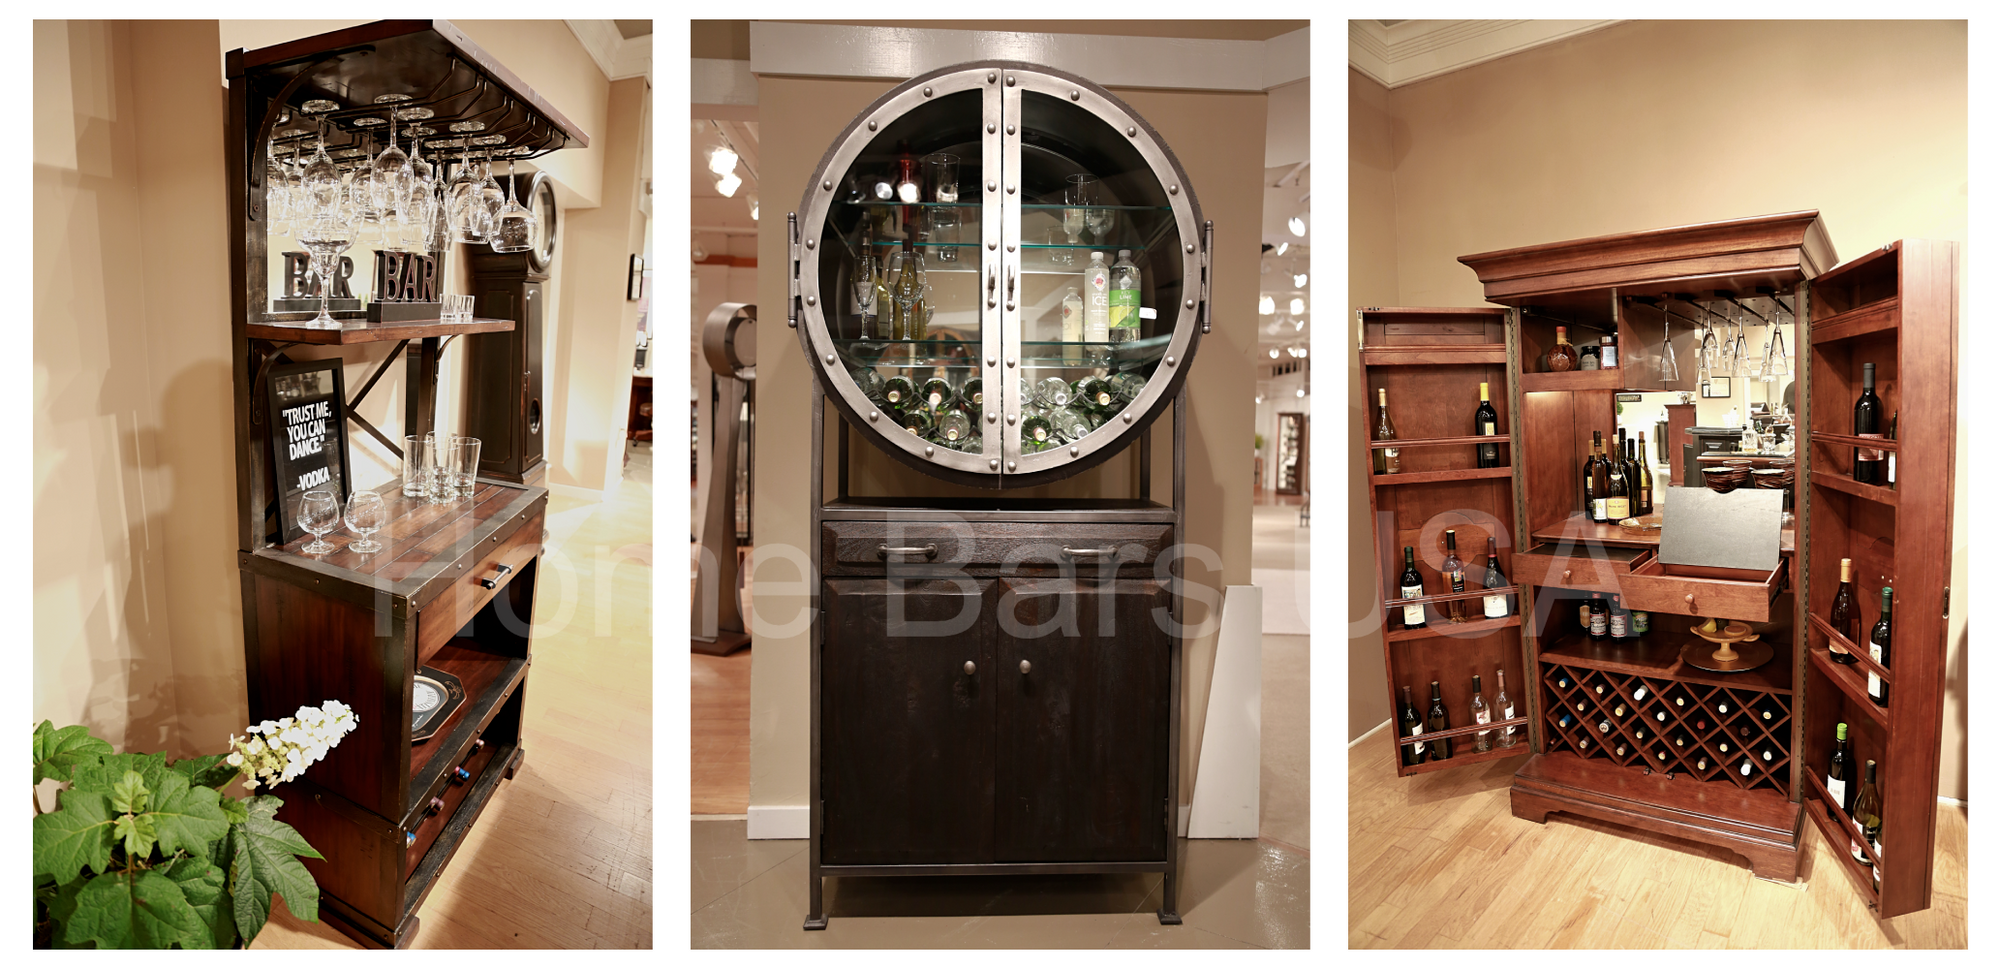
Step 4. Install the Shelves, Racks, and other separately packed parts. Do NOT put any items onto the shelves or racks until completely finished with the set up instructions. The shelves may not all be the same size. Please use care to install each shelf in its proper location within the cabinet. The shelves will rest on Shelf Clips or wood rails inside the cabinet. Pad-Lock Shelf Clips: Securely place the Shelf Clips into the desired holes inside the cabinet (Figures 3 and 4). There may be several holes that can be used for shelf height adjustment. Position the shelves onto the Shelf Clips as shown in Figures 3 and 4.

Step 5. Close and secure the door(s) using the lock or latch provided with your cabinet.
Step 6. Level the Cabinet. Place a level alongside the cabinet from front-to-back and side-to-side (Figure 5). There are adjustable levelers under the cabinet (Figure 1) that can be turned in (up) or out (down) to make adjustments. Adjust the levelers until the cabinet is level in all directions, and is square and firm on the floor.

To prevent breakage of glass shelves and/or items placed on the glass shelves, good judgement must be used during the installation and loading of glass shelves.
Sudden shock from any size item can result in broken glass, personal injury, or damage to valuable items. Care should be taken when placing items onto each glass shelf.
The weight of items placed on the shelves must be evenly distributed and must not exceed 25 pounds.

The end use of this cabinet is beyond our control and therefore, the Howard Miller Company can not assume responsibility for broken shelves or personal effects.
Step 7. Cabinet Door Alignment. To align the door gap at the top (Figure 7), press up on the top left corner of the cabinet (Figure 8). If the door alignment improves, turn the front left leveler counter-clockwise until the doors align. If the door alignment becomes worse, press up on the right corner of the cabinet and turn the front right leveler counter-clockwise until the doors are aligned. This will require two people. Usually only one front leveler will need to be adjusted. However, this method can be used to adjust the other levelers. Once the top gap is aligned (Figure 9), the doors should operate correctly. Note that the gap between the two doors cannot be adjusted with the levelers. The back levelers may need to be adjusted if the doors are not flush. Follow the same procedure above on the back levelers to make the door fronts flush with one another. The cabinet will settle into the carpet and padding, which may affect alignment. Realign if necessary. Note that carpet is commonly held in place by tack strips around the perimeter of the room. Place your cabinet so the base is at least 1 inch away from the wall to avoid resting on the tack strip.
 *Video instructions for Cabinet Door Alignment
Step 8. Light and Power Supply Instructions. Some cabinets include a light and/or a power supply strip. Plug in all cords before using the cabinet. The light is activated by a pressure switch located behind the door in the upper left side of the cabinet, as shown below. Open the left cabinet door. If the light does not turn on automatically, turn the rotary switch on the light housing as shown below.

Some cabinets are illuminated. Determine which lighting option is provided with your cabinet.
TOUCH-LITE:
The light is activated by touching the door hinge with the wire attached to it. (Typically this is the upper right door hinge on the cabinet.)
The light begins in the OFF position. The operation is sequential and will advance to the next light illumination level with each subsequent touch to the hinge.
AUTO-ON:
The light will automatically turn ON when the door is opened, and turn OFF when the door is closed.
Some cabinets have a hinged, lift-up prep shelf on the inside of the drawer (Figure 10). If you would like to remove this shelf, pull the drawer all the way open. Locate the pins on each side of the drawer that hold the shelf in position. Push one of the pins by using a narrow object. Once the pin is pushed in far enough to clear the inside edge of the drawer, lift up on that side of the shelf. Lift the shelf out at an angle, up and away from the drawer. It is not necessary to remove the drawer from the cabinet in order to perform this operation. (Reverse these instructions in order to reinstall the shelf into the drawer.)

Contact a stone restoration specialist regarding specific care and any questions you might have regarding the stone surfaces (i.e. granite, marble, etc.) that your cabinet may have. You may consider contacting Stone Care International at 1-800-839-1654 or visit their website at www.stonecare.com
Clean the stone surface on a regular basis with cleaning products specifically designed for use on stone surfaces. General scouring powders or creams may contain abrasives that can scratch the stone surface.
Protect the stone surface from condensation or spills. (Coasters under drink glasses and bottles can help prevent glass rings or stains from occurring.) Products that contain lemon, vinegar or any fluid that contains an acid or alkali, may damage stone surfaces.
Spills: Pick up or blot spills immediately to prevent staining or etching. Blot the spill with a clean paper towel or cloth. Don’t wipe the area, as this will spread the spill (and possibly increase the stain area). Flush the area with plain water. Use a cleaner or stain remover that is specifically designed for use on stone surfaces.
Protect wood & leather surfaces from scratches, dents, condensation or spills. Use cutting boards and coasters to protect the surfaces. (Coasters under drink glasses and bottles can help prevent glass rings or stains from occurring.)
Wax and polish your cabinet as frequently as you do your other furniture. Use a non-silicone liquid or paste wax.
Avoid exposing the cabinet to direct sunlight and protect it from extreme temperatures and humidity changes. Prolonged exposure to direct sunlight may fade the finish while extreme temperature and humidity changes may cause the wood to split or crack.
Check periodically that your cabinet is level and rests firmly on all four levelers. This is especially important the first few months if the cabinet settles into carpet (Figures 1 and 5).
Comments will be approved before showing up.
